
Growing Old Sucks, A Cautionary Tale
Okay, it’s not a tale, rather a true story with useful information.
This blog is dedicated to my mom. The woman who raised me and shaped me to be the person I am today.
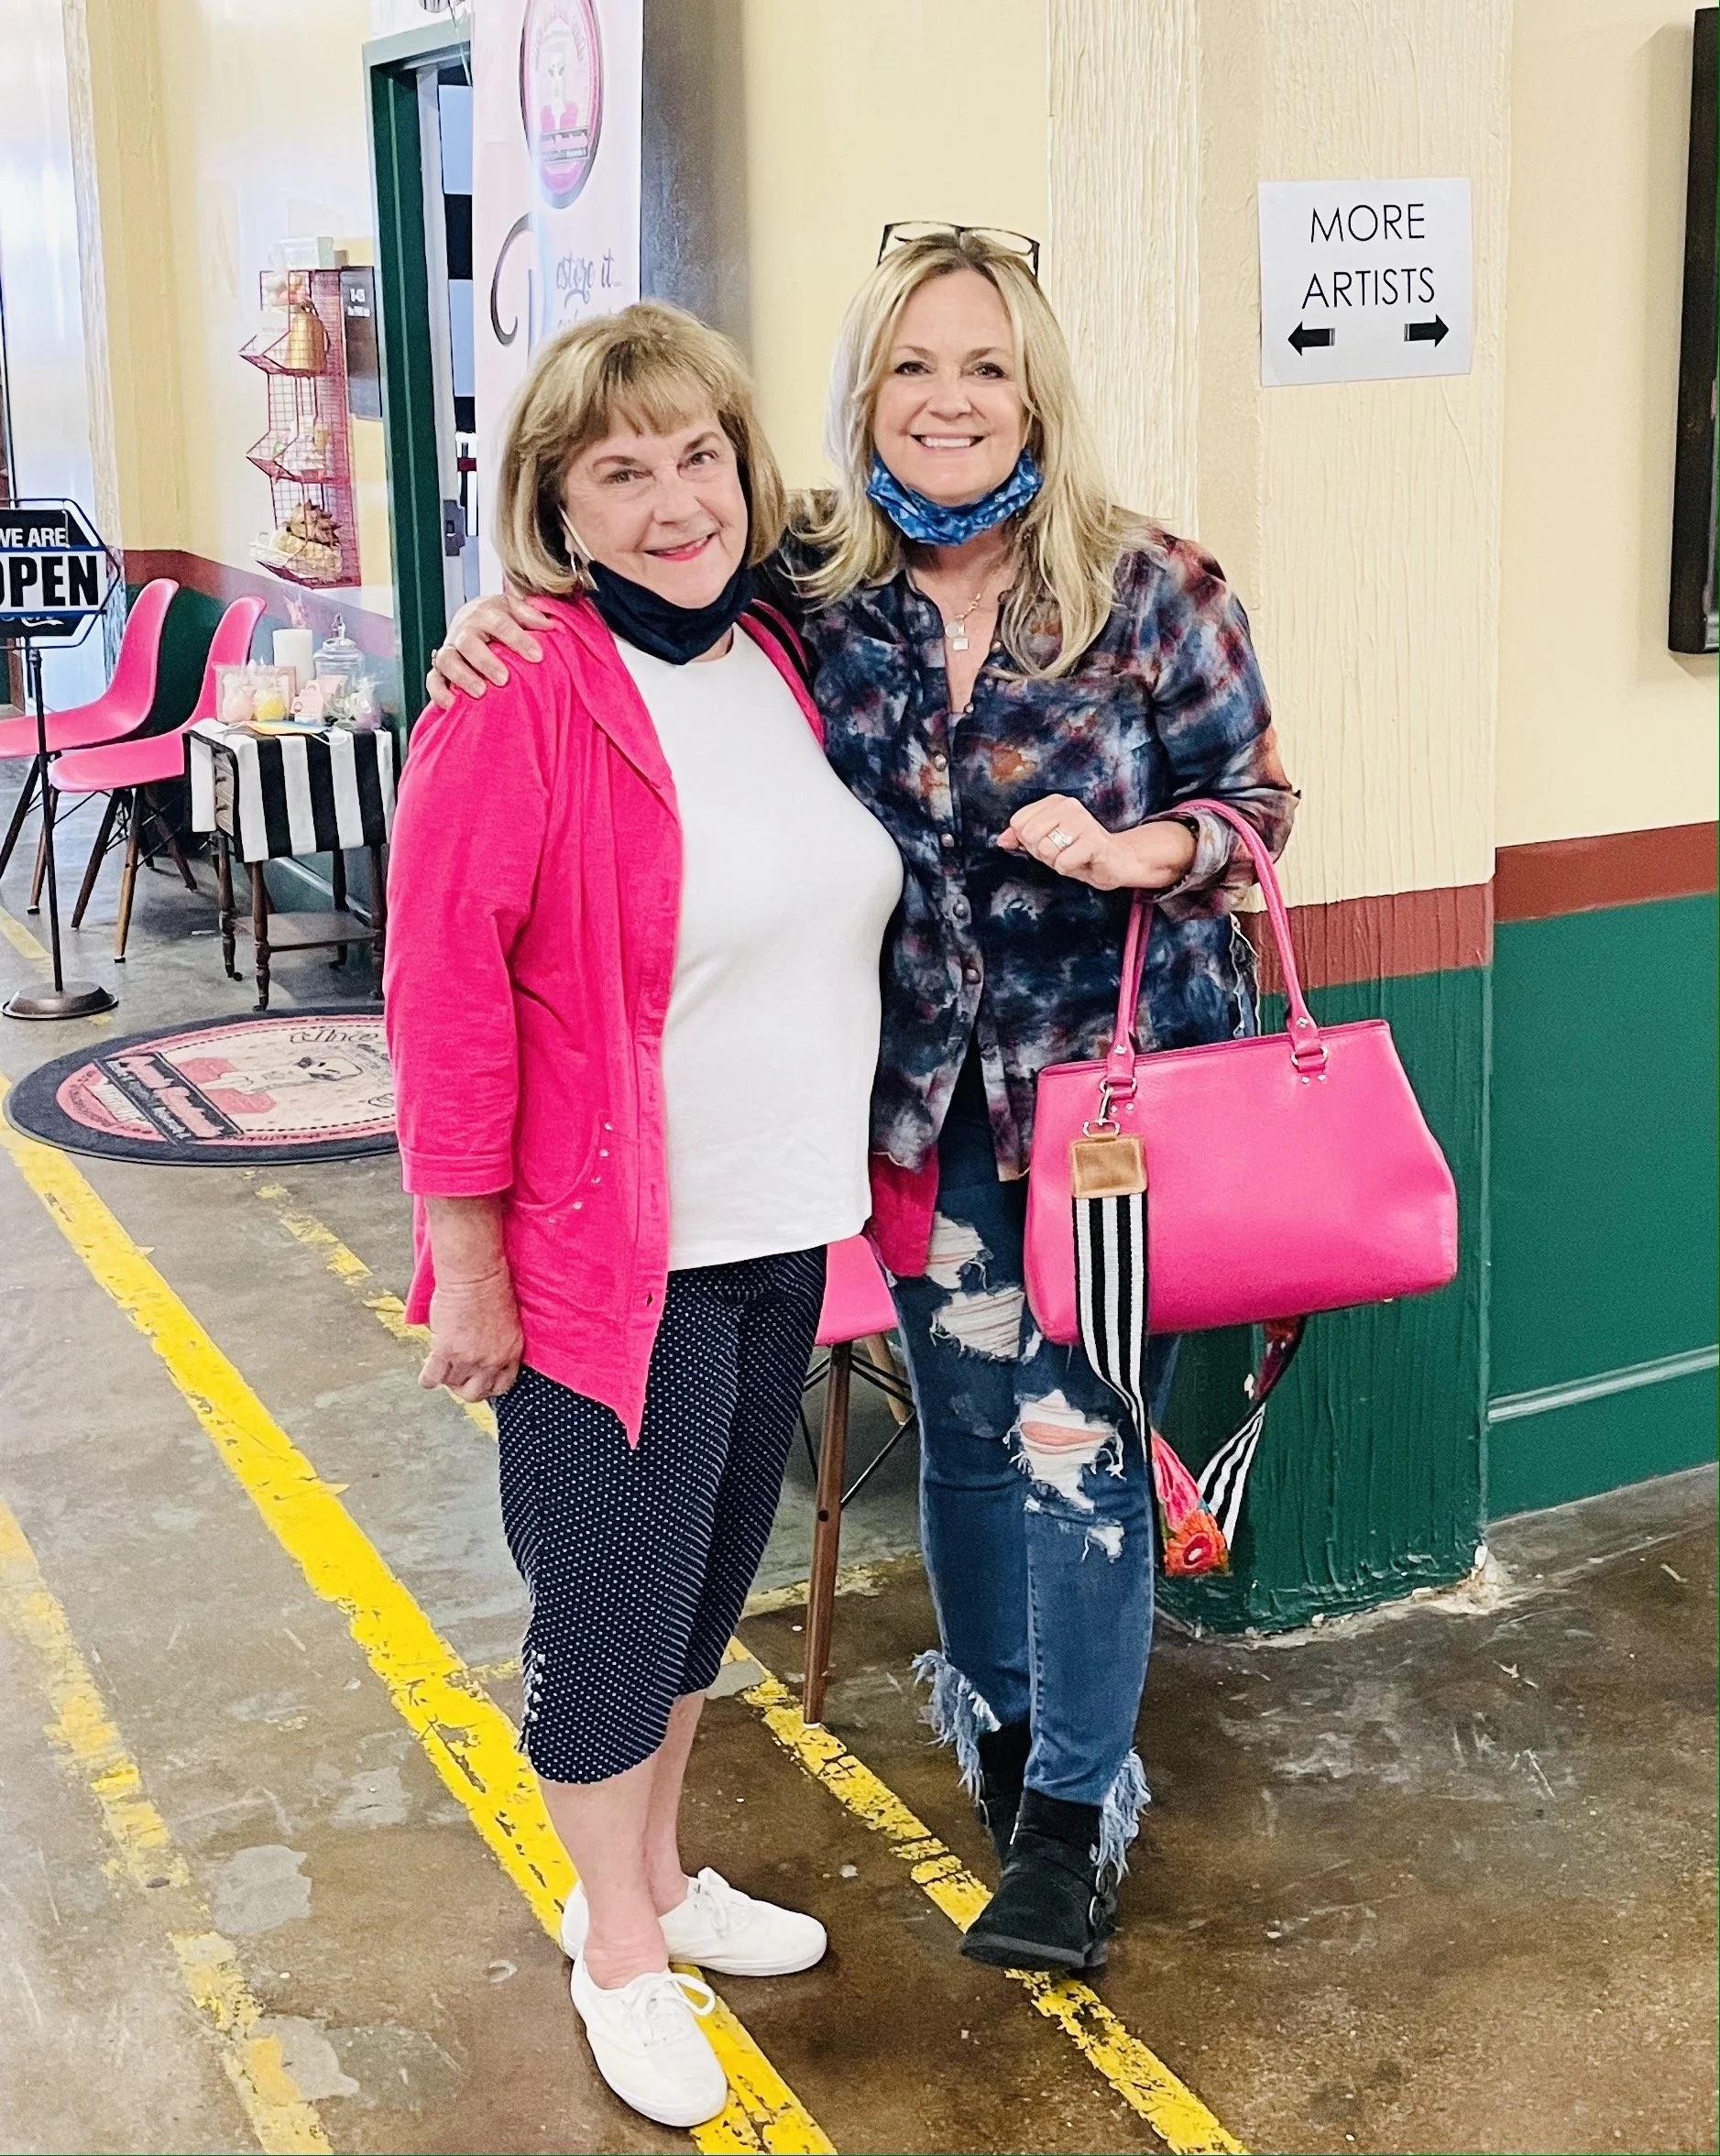
Mom and I at the Art Studio Tour in Indianapolis
I am a learner, a teacher, an artist, a mother, a daughter, a wife, a sister, and a friend. Funny thing, my mom is all of those things too. Mom always had, and still does to the day, a new craft to learn. From cutting and painting on the jig-saw, to knitting, card making, pour painting… she has done it all, and shares it with great enthusiasm… sound familiar? During her younger years, she had a mean tennis serve, played racquetball, golf and even learned to ski. Mom, is a retired elementary school teacher as well. So if you know me, you are starting to see how very much alike we are! Learning and Teaching, whether it be art, or sport, is at the core of who we are.
So it should be of no surprise, that at the age of 55, I’ve decided to learn all about Pilates and to become a Pilates instructor. The education has been intense and eye opening. I am learning about our musculature, how to strengthen and preserve the core systems that keep us strong. Which is why I am writing today about Pilates, Hip Health, and Hip Replacement.
My mom, is a survivor of two hip replacements. I could say she is kind of Bad Ass, because she broke one hip while jumping on a shovel, and the other while double stepping up stairs in her 70’s, but the truth is, age, along with lack of muscle and range of motion, made her vulnerable. Understanding that we are all aging in the same direction, and these vulnerable days are right around the corner for me… and all of you, I am compelled to learn and to teach about how Pilates can help us to prevent injury, and how it helps to rehabilitate our bodies after injury.
About Our Hips… My hips, your hips, their hips… everyone’s hips.
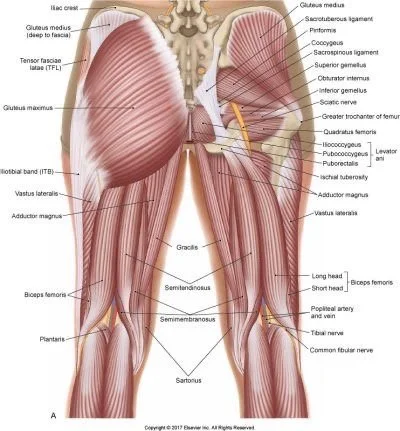
Our hips are made up of bones and muscles. The health of these bones and muscles are dependent on many factors, but regular exercise that promotes muscle and bone health greatly reduces the chance of injury or falls. Strong muscles are key to stabilizing and protecting hip health, as well as recovering from hip replacement surgery. Hip stabilization muscles that play a key role in stabilization include the gluteus medius, gluteus maximus, piriformis and deep core muscles6).
More than 95% of hip fractures are caused by falling, usually by falling sideways. Women experience three-quarters of all hip fractures. Women fall more often than men. Women more often have osteoporosis, a disease that weakens bones and makes them more likely to break. So you can understand the need for us ladies to take this stuff seriously. As women reach menopausal age, our bones and muscles deteriorate naturally. We slow and counteract the process through diet, and exercise.
To stretch and strengthen your hips, you’ll want to target:
the gluteus maximus, the main extensor muscle of the hip
the gluteus medius, the main muscle on the side of the hip
the piriformis and deep core muscles (deep 6)
Essentially, you’ll be strengthening and stretching the back and sides of the hips.
You’ll need to avoid overworking the tensor fasciae latae (TFL or IT band), which is right in front of the hip joint. If you overuse this muscle, you can cause unwanted knee, hip, or back pain. (Healthline.com)
The following exercises are useful for most people to strengthen and protect yourself from hip replacement, or to recover from hip replacement. The only difference is that when recovering and building the muscle back, after replacement, you will begin with a very small range of motion and you might want a cushioned mat to place under your bad hip while lying on that side.
Breathing and Posture Awareness

Photo credit: Pilates Anytime
Coming on to your mat in a standing position with your shoulders over your hips and feet in alignment. You may need to tuck your tailbone in just and bit, and engage your core to ensure a strong straight posture or neutral position. Make note of the weight on your feet. Is it evenly distributed to all for corners of each foot, or are you leaning forward on the balls or back on your heals? Adjust so you can feel the weight distributed evenly. While you are here, we will begin our Lateral Breathing by taking large inhales into your ribcage, and exhaling through the mouth as your abdominals engage. Now take notice of your right foot and leg and without leaning, place more weight on that leg. How does it feel? Place as much weight on that leg that is comfortable. Going back to balanced for one breath and now let’s try the other leg. Take notice if there are any differences or weaknesses on either side.

Photo Credit: Pilates Anytime
Pelvic Tilts
Carefully making our way down to the mat, we are going to start our pelvic tilts. Pelvic tilts are useful in helping to alleviate back pain which is often prevalent with hip problems. . They reduce stiffness in the lower back and help to gently stretch the back muscles. They also strengthen your abdominal and buttock muscles, key to hip health.
Let’s slowly move on your back with your knees bent and the souls of your feel on the floor. Let’s awaken those hip joints and muscles and your core. Starting with your spine in neutral position, there should be a slight curve in your lumbar spine creating a space where your lower back is slightly lifted of the floor. We will start our lateral breathing and on your next exhale, begin to curve your tailbone, and closing that gap. Start with small movements, and increase the movement as you feel comfort. On your inhale, curve, starting with your tailbone lifting one little section at a time to flexion, your tail bone towards the mat. Continue through three breaths. Moving on we are going to tilt side to to side. Continue with a neutral spine, as you engage your right buttock muscle and pull that leg just a tiny bit closer to your shoulder and release. Continue this movement from side to side with each release, if comfortable lengthen your leg through the hip socket.

Photo Credit: Pilates Anytime
Bridge Work
The bridge both stretches and strengthens the muscles of your posterior chain including the hip abductors, gluteus maximus, and hamstrings. We will continue lying on the floor in neutral position with souls of the feel hip distance apart and palms on the mat beside your hips. If you are able to articulate your spine by curving your tail bone towards the ceiling as you exhale, curl that tail bone and then vertebrae by vertebrae as you push into your heals and slightly lift your hips on the exhale and lower on the inhale. As you exhale, engage your core pulling your belly button towards the mat. If articulating (rolling) the spine is not comfortable you may hinge as your raise your hips. As you move through the movement, start with small movements and deepen your range of motion as you feel comfortable.
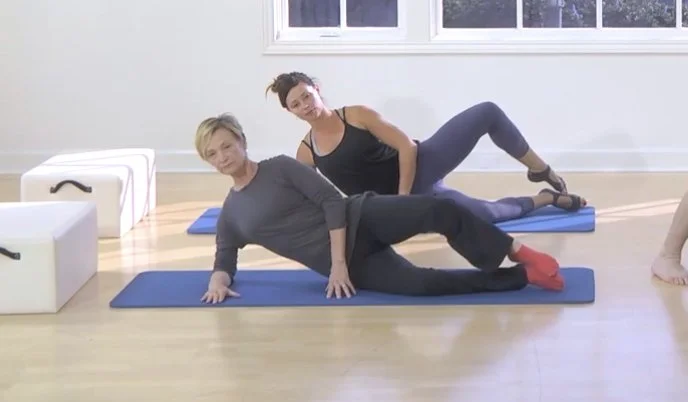
Photo Credit: Pilates Anytime
Clamshell
Okay now let’s strengthen the gluteus medius, which lays on the outer edge of the buttocks and is responsible for stabilizing your pelvis. When you have compromised hips, we really want to focus on stabilization. We will make our way to side lying position with your shoulder in alignment with your hips and your knees bent with legs stack on top of each other. You may need to place a cushion under your hip. Inhale and keep your big toes together as you slowly rotate your leg in the hip socket so that the top knee opens. Open the knee only as far as you can go comfortably and without disturbing the alignment of your hips. Start with very small movements and deepen your range of motion as you feel comfortable. On your exhale slowly bring your knee back to the start position. Let’s repeat this movement 5 times on each side.
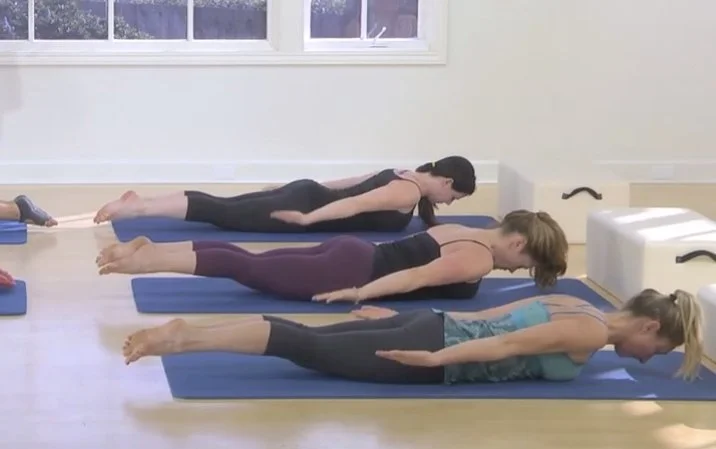
Photo Credit: Pilates Anytime
Prone Leg Lifts
Prone leg lifts are great for rehabilitation and for preventative work because besides working the lower abs and inner thighs, leg lifts also help with hip strength and flexibility due to the motion of your legs and hips during the move. So lets get started.
Laying prone, on your belly rest your head on your hands, and lengthen your entire body. Engage your core to keep your spine neutral. Bringing your legs hip distant apart, with the top of your feet laying towards the ground. Activate your Glutes and keep them active on both sides during the exercise. Using your glues, slowly raise one leg, from the hip socket, just a few inches off the floor. Make sure while raising your leg that your hips stay stable and squared. Start with a small range of motion and work your way to a larger range only when your body allows.
Because we want to activate the hamstrings and glutes, focus on moving the leg from the thighbone, rather than the foot. Keep the leg reaching long, rather than going for too much height – this will help you to keep your low back happy by helping your pelvis stay neutral. Ensure that you are lifting the abdominals in and up as you reach the leg away from the floor. Repeat the movement 5 times on each side.
Happy Hips For All!
I hope you have enjoyed this small sampling of some simple Pilates exercises to to help strengthen your hips. If you haven’t already done so, I encourage you all to give a pilates practice a try. It has been a game changer for me, and I only wish that I started sooner. Stay tuned for more!
Hip, Hip, Hooray!
*I used the following sources to gather insight and information for this post:
fitwell.com
Pilatescan.com
health.harvard.edu.
Pilates Any Time App